🏠 HomeHome 📖 Blog 🧰 Portfolio 🔭 Objects 📋 Math 📈 Game 📄 Analytics 📄 Links ✉️ KontaktContact

Dieses Setup habe ich für die englischsprachigen Astrofotografie-Workshops in Linz konfiguriert – als einfaches, sicheres und preisgünstiges mobiles System für den Einstieg in die Astrofotografie.

I configured this setup for the English-language astrophotography workshops in Linz – as a simple, safe and affordable mobile system for entering astrophotography.

Skywatcher Star Adventurer GTi Setup

Das Setup im Überblick

The setup at a glance

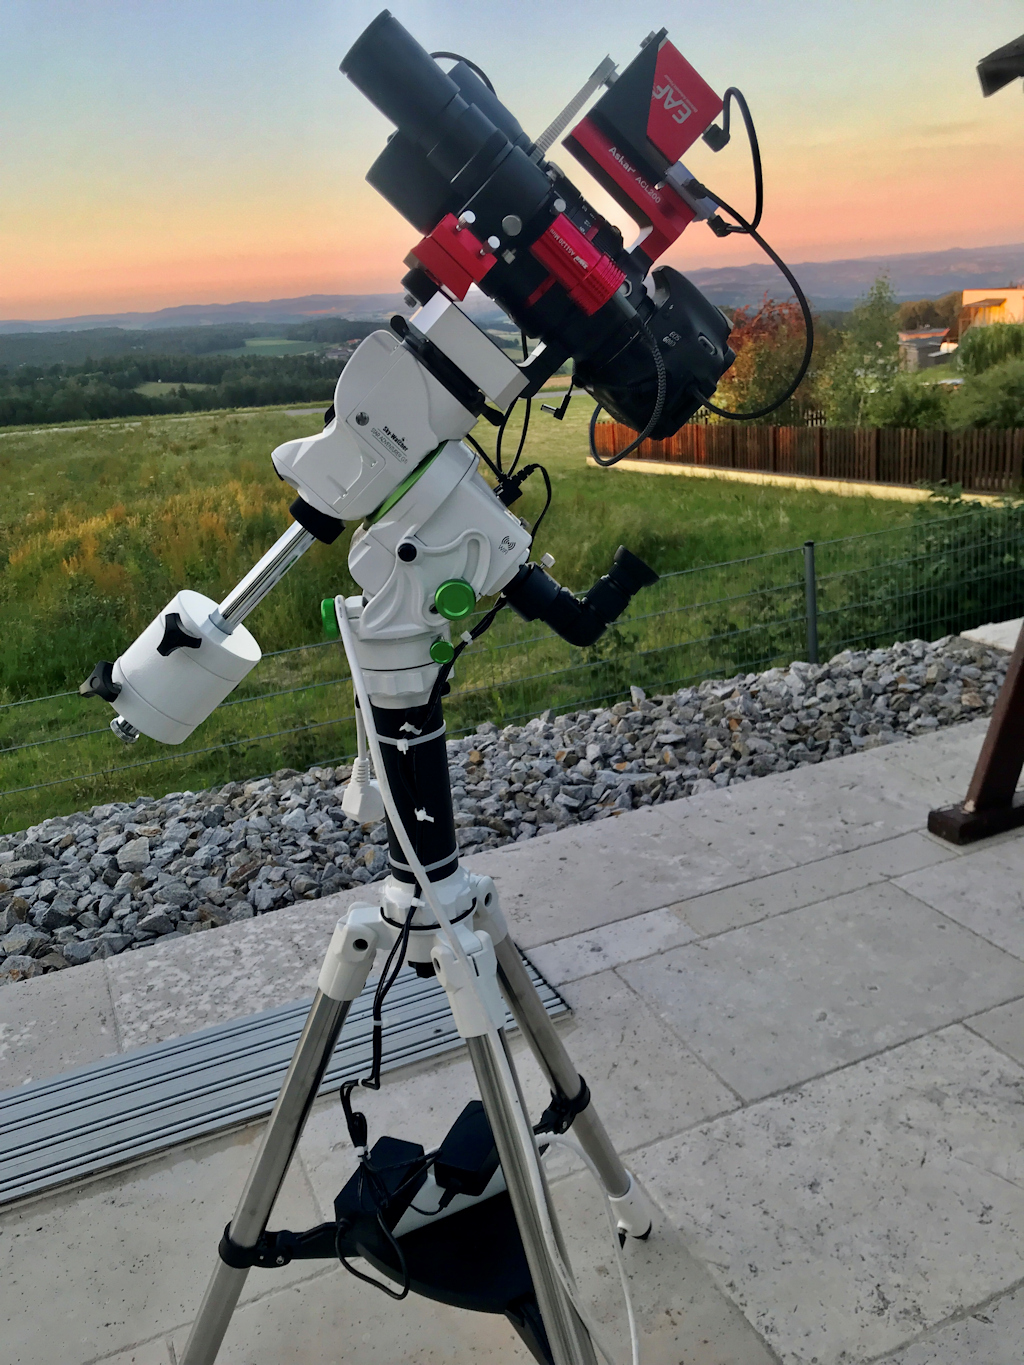
Ein Plug & Play-System mit vollem Equipment – montiert auf der Skywatcher Star Adventurer GTi. Das Gesamtgewicht des Kopfes beträgt 3,7 kg, also kein Problem für die GTi. Auch der TSAPO60f5Q (mein Favorit) wäre gut verwendbar.

A plug-and-play system with full equipment – mounted on the Skywatcher Star Adventurer GTi. The total weight of the head is 3.7 kg, no problem for the GTi. The TSAPO60f5Q (my favorite) would also work well.

Skywatcher Star Adventurer GTi Montierung mit Stativ

Skywatcher Star Adventurer GTi mount with tripod

Sie ist etwas lauter und auch nicht leichter als meine GEM28 früher. Dafür ist sie deutlich preisgünstiger. Für ein einfaches und sicheres Handling des Setups habe ich die Originalklemme mit einem Adapter gegen eine TS-Klemme ausgetauscht und quer montiert. Da das Polaralignment mit Asiair so problemlos und schnell funktioniert, benötige ich weder den eingebauten Polsucher noch einen Winkelsucher.

Für einen leichten Transport kann der komplett verkabelte Kopf von der Montierung abgenommen werden. Dazu muss nur das USB- und das 12 V-Kabel von der Montierung zur Asiair gelöst werden.

It is somewhat louder and not lighter than my GEM28 was. But it is. For simple and safe handling of the setup, I replaced the original clamp with an adapter against a TS clamp and mounted it crosswise. Since polar alignment with Asiair works so smoothly and quickly, I need neither the built-in polar scope nor an angle finder.

For easy transport, the fully cabled head can be removed from the mount. Only the USB and 12 V cables from the mount to the Asiair need to be disconnected.

Askar ACL200 f/4 APO

Askar ACL200 f/4 APO

Mit diesem sehr leichten und lichtstarken APO mit integriertem Optolong L-Pro Filter habe ich bereits sehr gute Erfahrungen auf der GEM28 gemacht. Er eignet sich deshalb auch sehr gut für diese kleinere Montierung. Beginnen werden wir mit einer Canon EOS600Da am ACL200.

I have already had very good experiences with this very light and fast APO with integrated Optolong L-Pro filter on the GEM28. It is therefore also very well suited for this smaller mount. We will start with a Canon EOS600Da on the ACL200.

ZWO EAF5V Fokussierer mit Temperatur-Sensor

ZWO EAF5V focuser with temperature sensor

Für die Befestigung des EAF auf dem Handgriff des ACL200 habe ich eine neue Halterung entworfen. Vor Beginn der Aufnahme wird der Fokus zunächst mit der Bahtinov-Maske gut eingestellt, der Autofokus der Asiair verbessert dann am vorderen Ring des ACL200 mit dem EAF z. B. bei Temperaturänderung den Fokus sehr exakt.

For mounting the EAF on the ACL200 handle, I designed a new bracket. Before imaging begins, focus is first set well with the Bahtinov mask, then the Asiair autofocus improves focus very precisely on the front ring of the ACL200 with the EAF, e.g. on temperature changes.

Askar 32 mm Guiding Set mit ASI120mini Guidecam

Askar 32 mm guiding set with ASI120mini guide cam

Sehr gutes Leitrohr. Eine feinfühlige und exakte Fokussierung ist mit dem Helical-Fokussierer gewährleistet.

Very good guide scope. Fine and precise focusing is ensured by the helical focuser.

Canon EOS600Da

Canon EOS600Da

Übungskamera für die Seminarteilnehmer. Privat benutze ich eine EOS77Da.

Training camera for the seminar participants. Privately I use an EOS77Da.

Asiair Plus zur Komplettsteuerung des Setups

Asiair Plus for complete control of the setup

Die Asiair App ist eine ausgezeichnete Plattform für die Steuerung der gesamten Prozesse per WIFI – vom Polar Alignment über Goto, Autofokus, Platesolve und Guiding bis zur Speicherung der mit Autorun gewonnenen Daten im FITS-Format auf einem externen USB-Stick oder internem Speicher.

The Asiair app is an excellent platform for controlling all processes via WiFi – from polar alignment through goto, autofocus, plate solve and guiding to storing the data acquired with autorun in FITS format on an external USB stick or internal storage.

Imaging Train

Imaging train

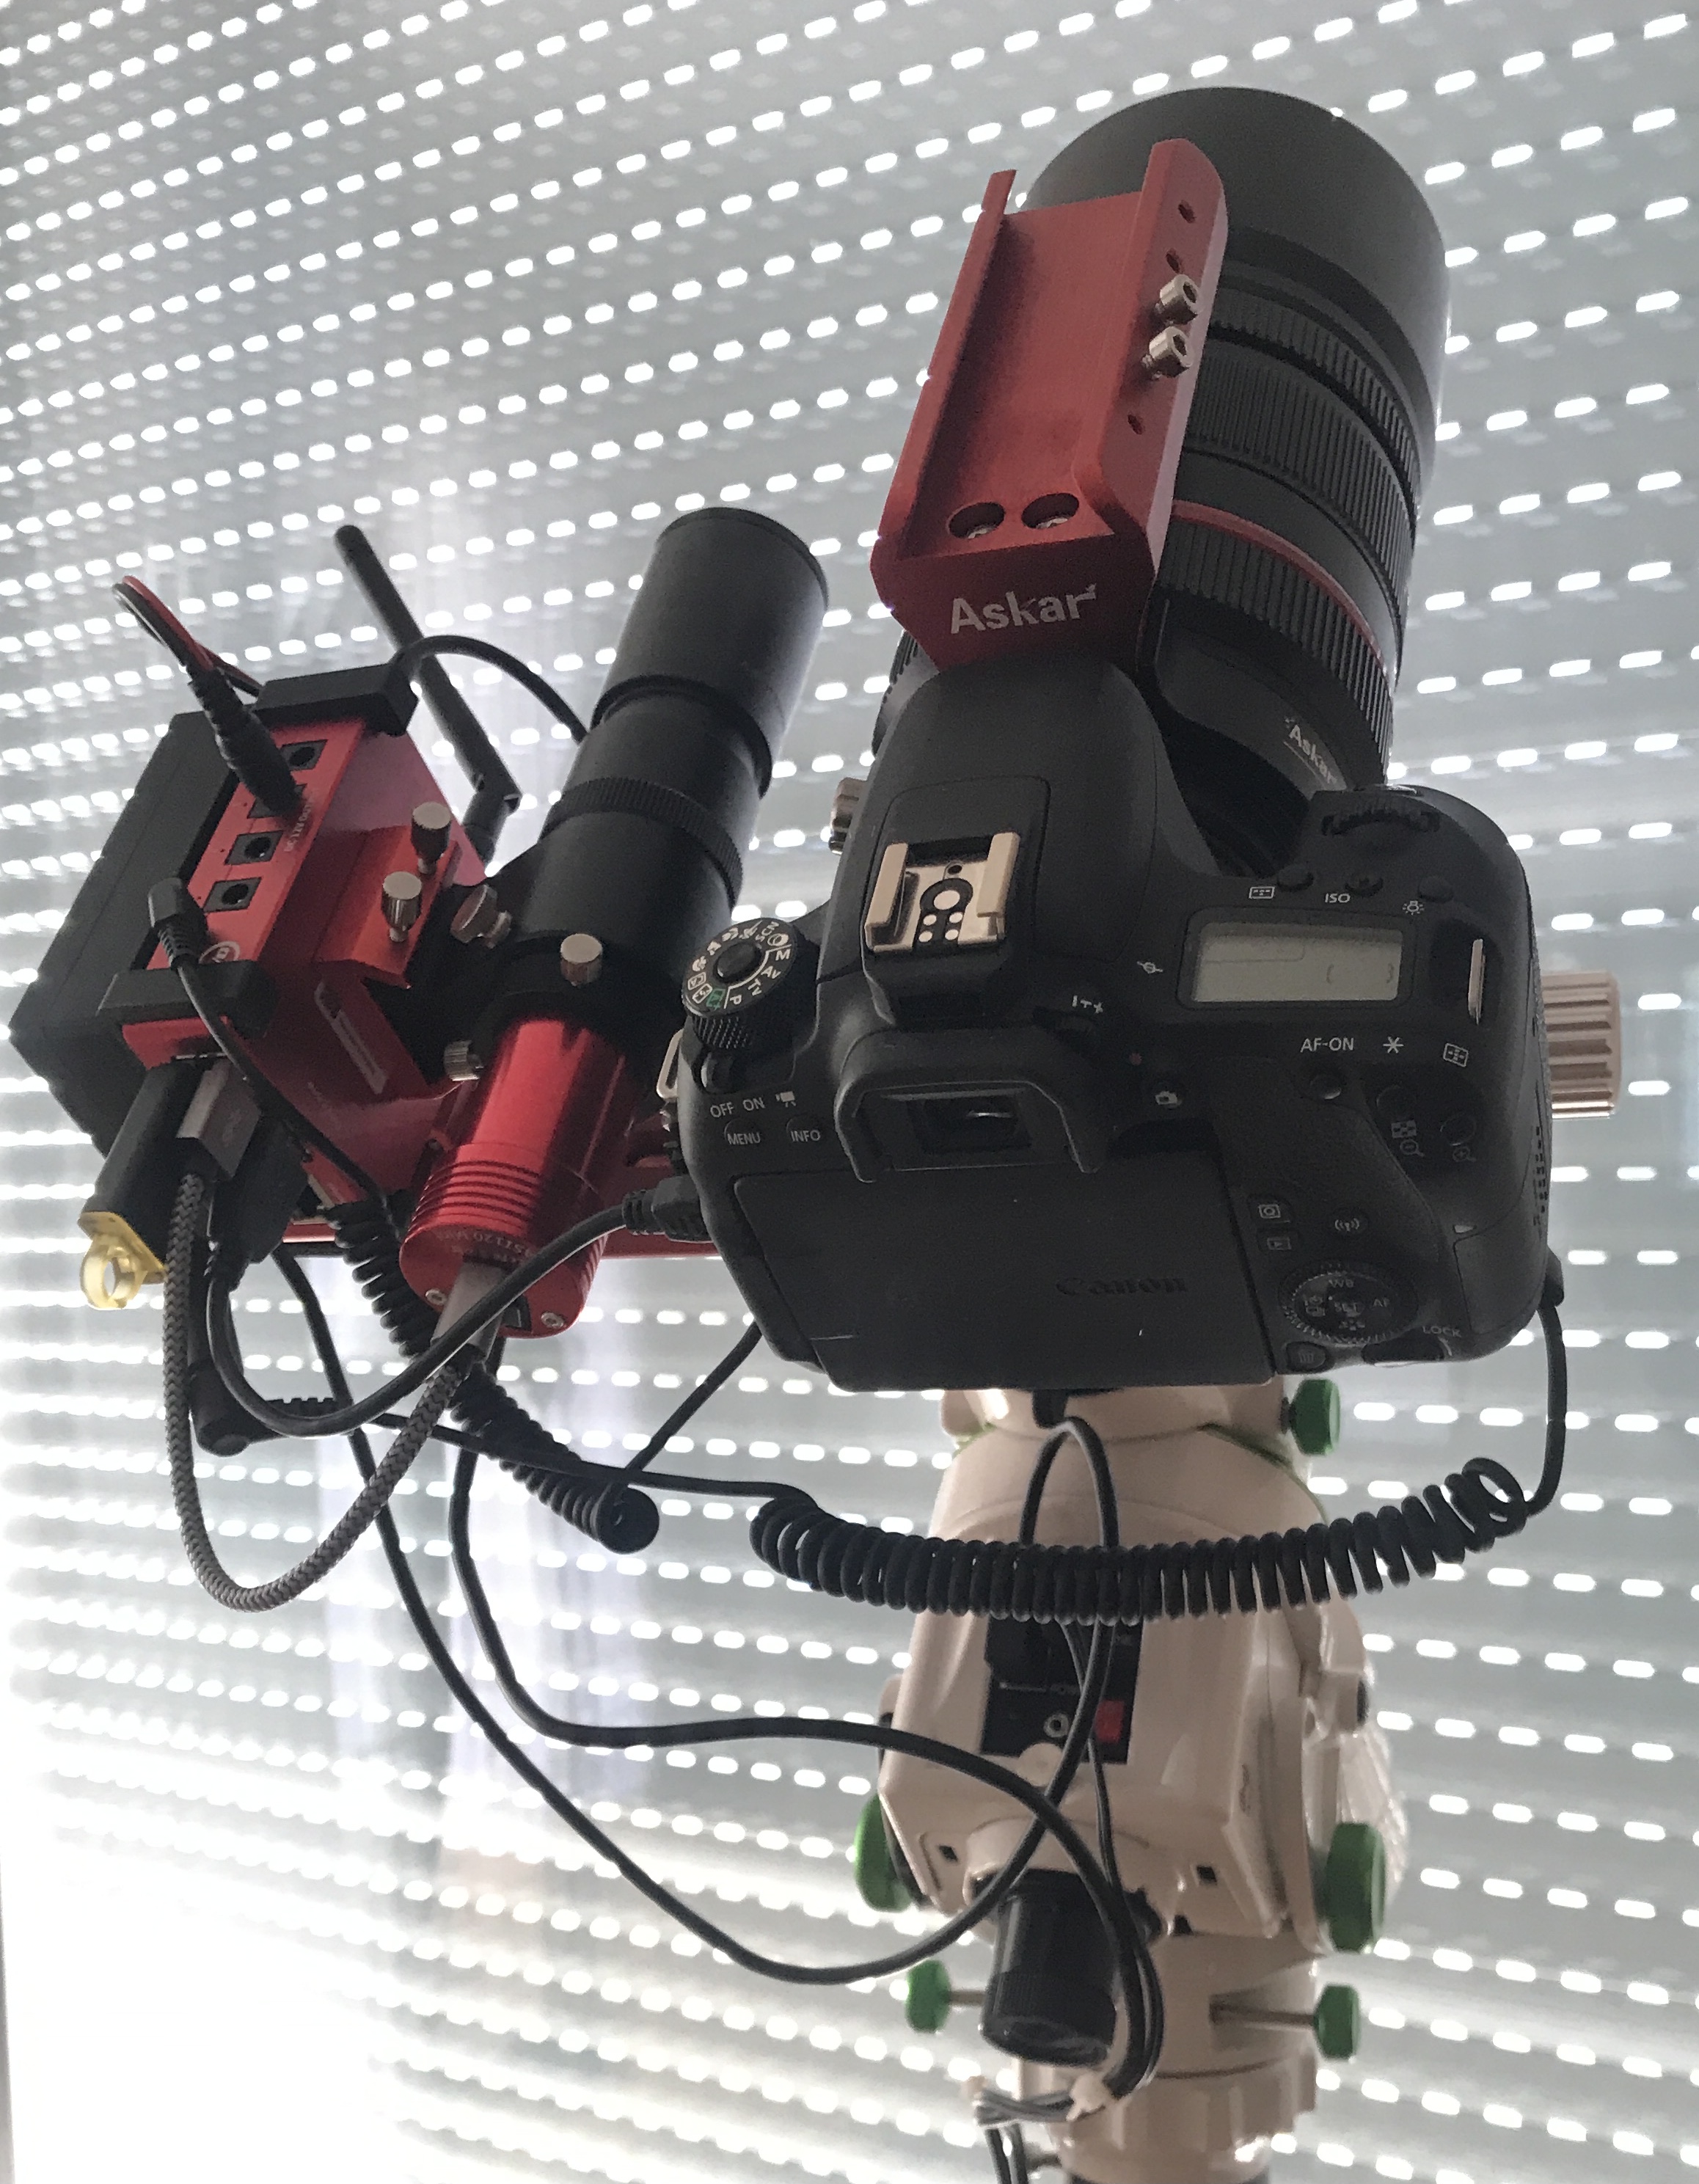
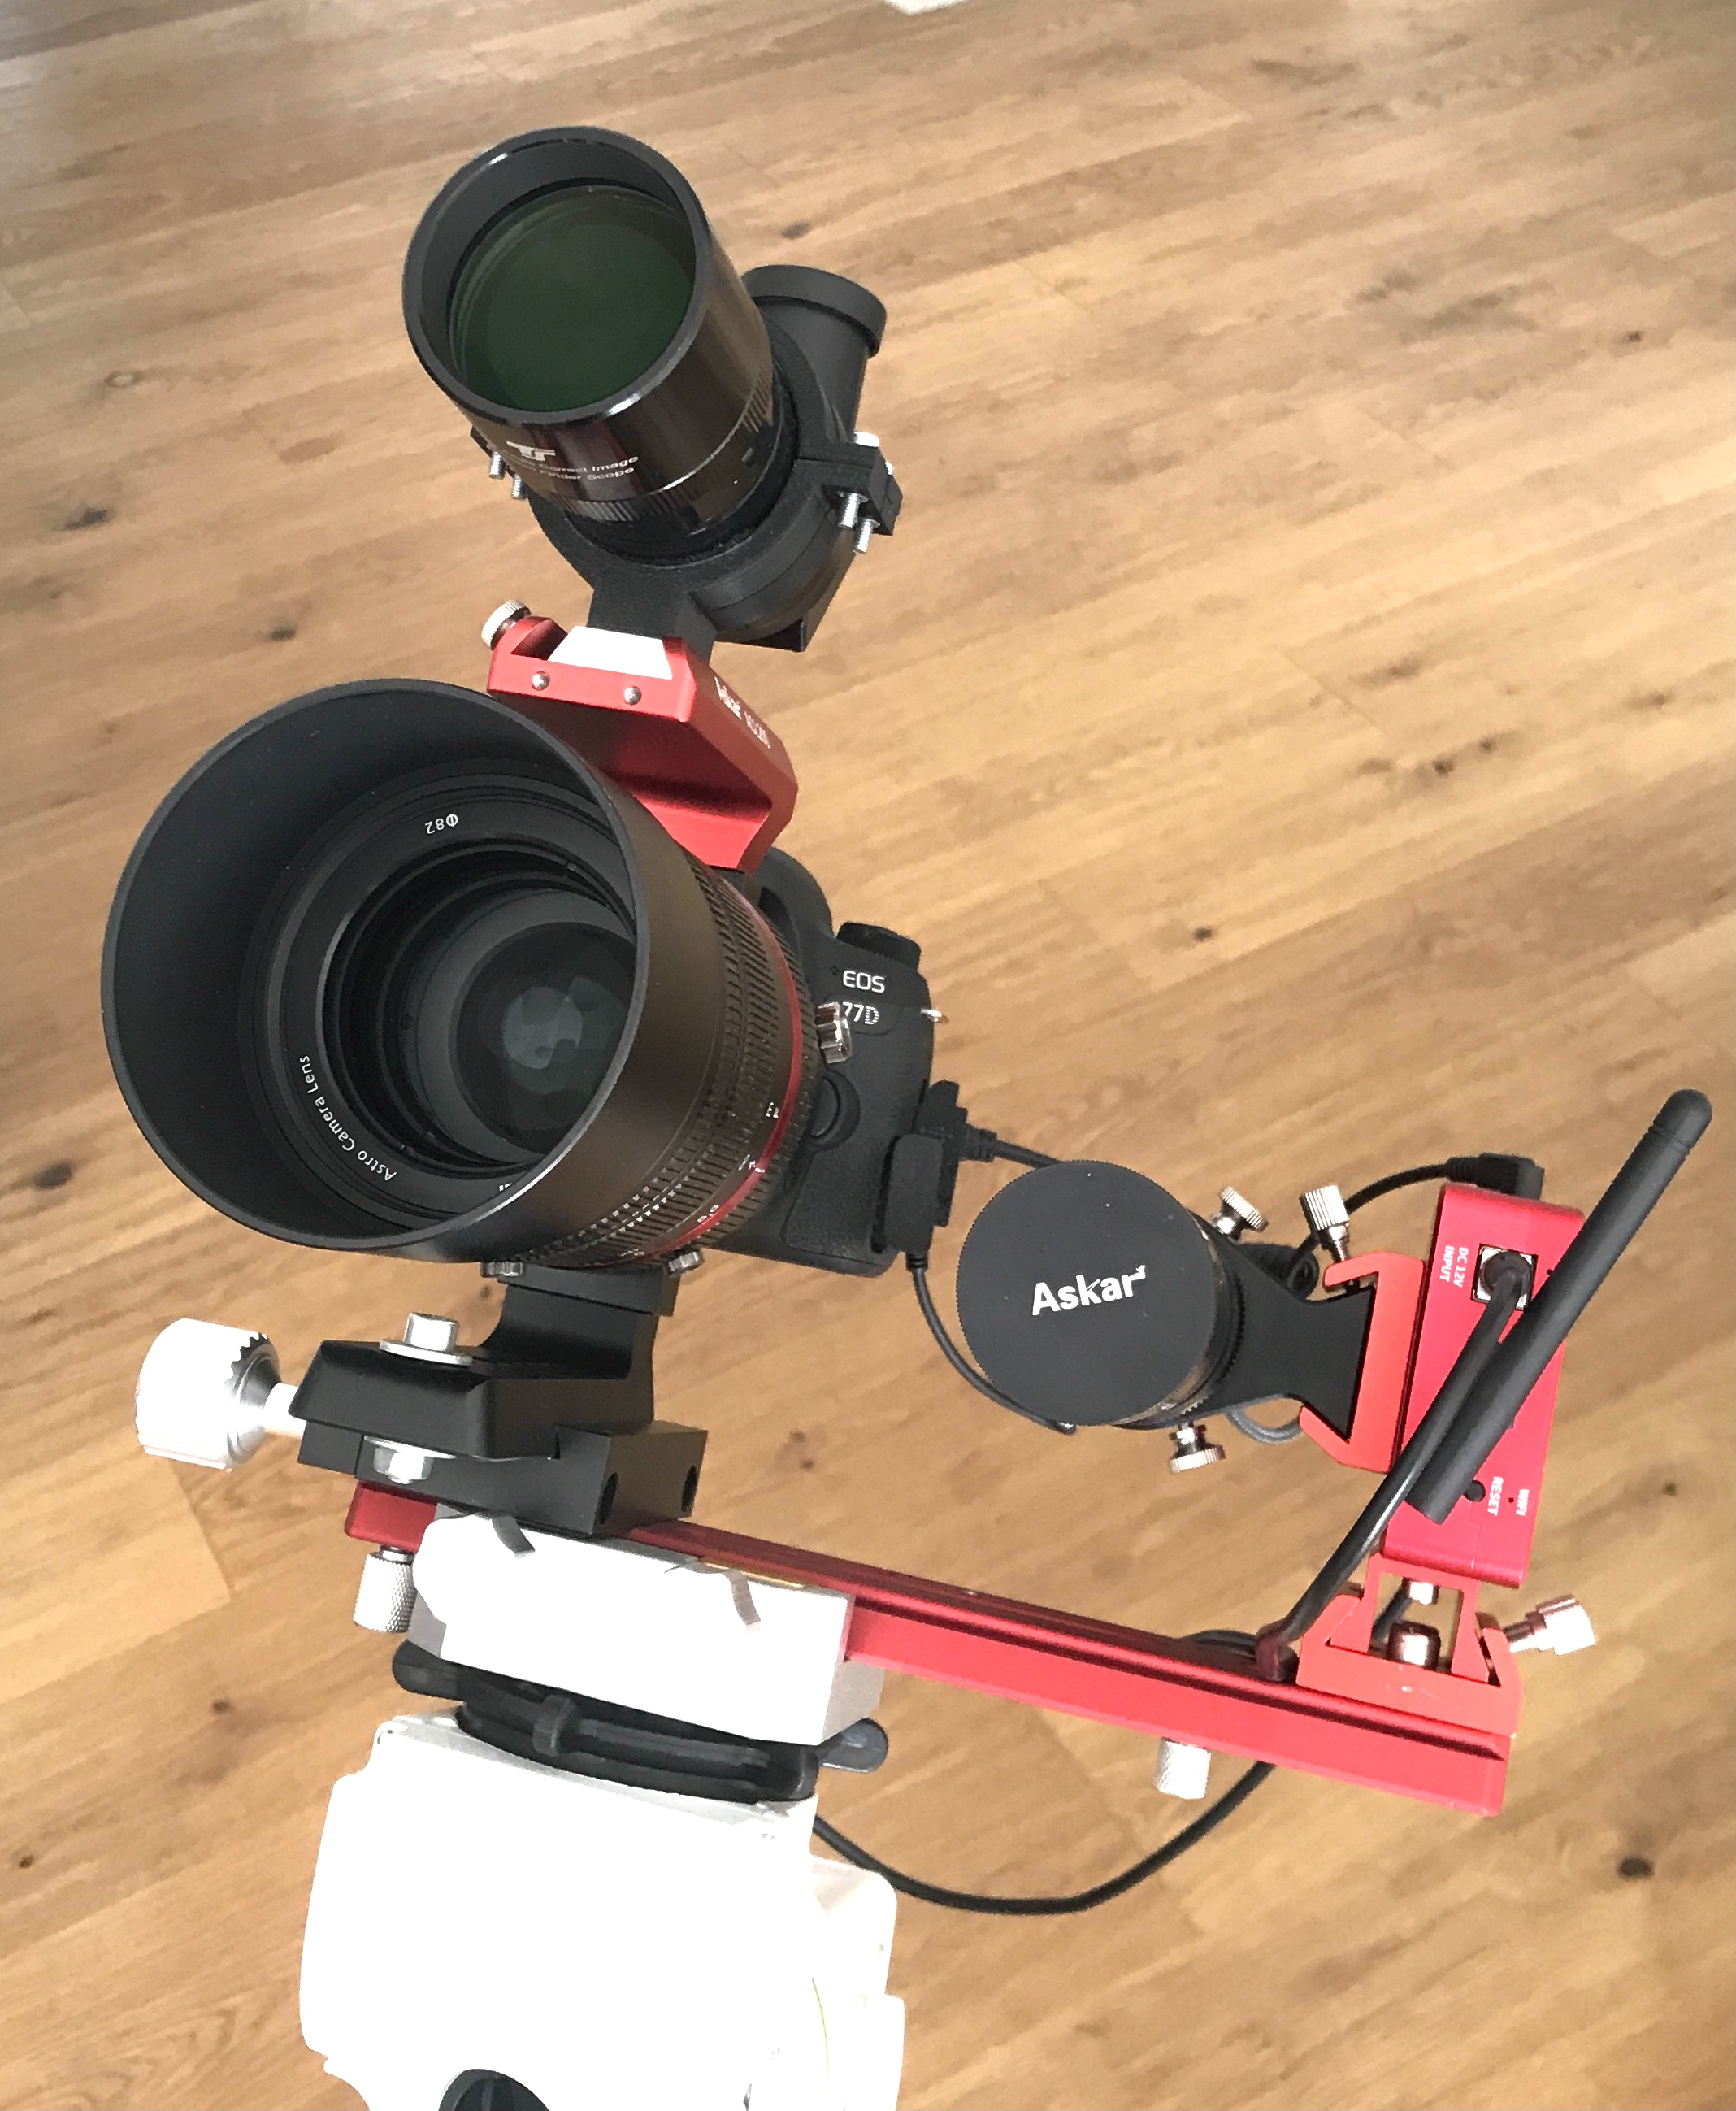
Für die Adaption des Asiair Plus, des Guiding Sets und des Teleskops mit Kamera habe ich eine 24 cm Primaluce Prismenschiene auf der quer montierten Prismenklemme absturzsicher befestigt. Auf der linken Seite den Asiair Controller mit Guiding Set, rechts Kamera und Teleskop. Alles perfekt im Gleichgewicht, kurz verkabelt und in Klemmen sicher aber abnehmbar montiert.

Da die 4 USB-Anschlüsse der Asiair nicht ausreichen (siehe unten), wird ein Mini-USB-Hub verwendet, der jeweils auf dem Blitz-Adapter der DSLR-Kamera montiert wird. Eine Alternative wäre natürlich eine ASI-Kamera mit integriertem USB-Hub. Für die Workshops sind EOS-Kameras aber der bessere Einstieg. Das Gleichgewicht nach dem Wechsel wird durch seitliches Verschieben der Prismenschiene eingestellt.

For adapting the Asiair Plus, the guiding set and the telescope with camera, I secured a 24 cm Primaluce dovetail bar to the cross-mounted dovetail clamp. On the left side the Asiair controller with guiding set, on the right camera and telescope. Everything perfectly balanced, cabled short and mounted securely but removable in the clamps.

Since the 4 USB ports of the Asiair are not enough (see below), a mini USB hub is used, mounted on the flash adapter of the DSLR camera. An alternative would of course be an ASI camera with integrated USB hub. But for the workshops, EOS cameras are the better entry point. The balance after swapping is set by shifting the dovetail bar sideways.

Kabelmanagement

Cable management

Stromversorgung

Power supply

  • 12 V DC-In über 12 V 2A Netzteil
  • 12 V DC-In via 12 V 2A power supply
  • 12 V DC-In über 12 V 5A Netzteil oder mobile Powerbox für SA GTI
  • 12 V DC-In via 12 V 5A power supply or mobile power box for SA GTI
  • 12 V DC-In über 12 V 5A Netzteil oder mobile Powerbox für Asiair
  • 12 V DC-In via 12 V 5A power supply or mobile power box for Asiair
  • 7,8 V DC-In über 12 V 5A Netzteil oder mobile Powerbox für Canon EOS
  • 7.8 V DC-In via 12 V 5A power supply or mobile power box for Canon EOS

Datenübertragung

Data transfer

  • USB2 zu GTi
  • USB2 to GTi
  • USB2 zu Canon EOS
  • USB2 to Canon EOS
  • USB3 zu ASI120mini
  • USB3 to ASI120mini
  • USB3 zu EAF Focuser
  • USB3 to EAF focuser
  • Klinkenstecker Asiair zu Klinkenstecker Canon EOS (Shutter-Auslösung)
  • Jack plug Asiair to jack plug Canon EOS (shutter release)

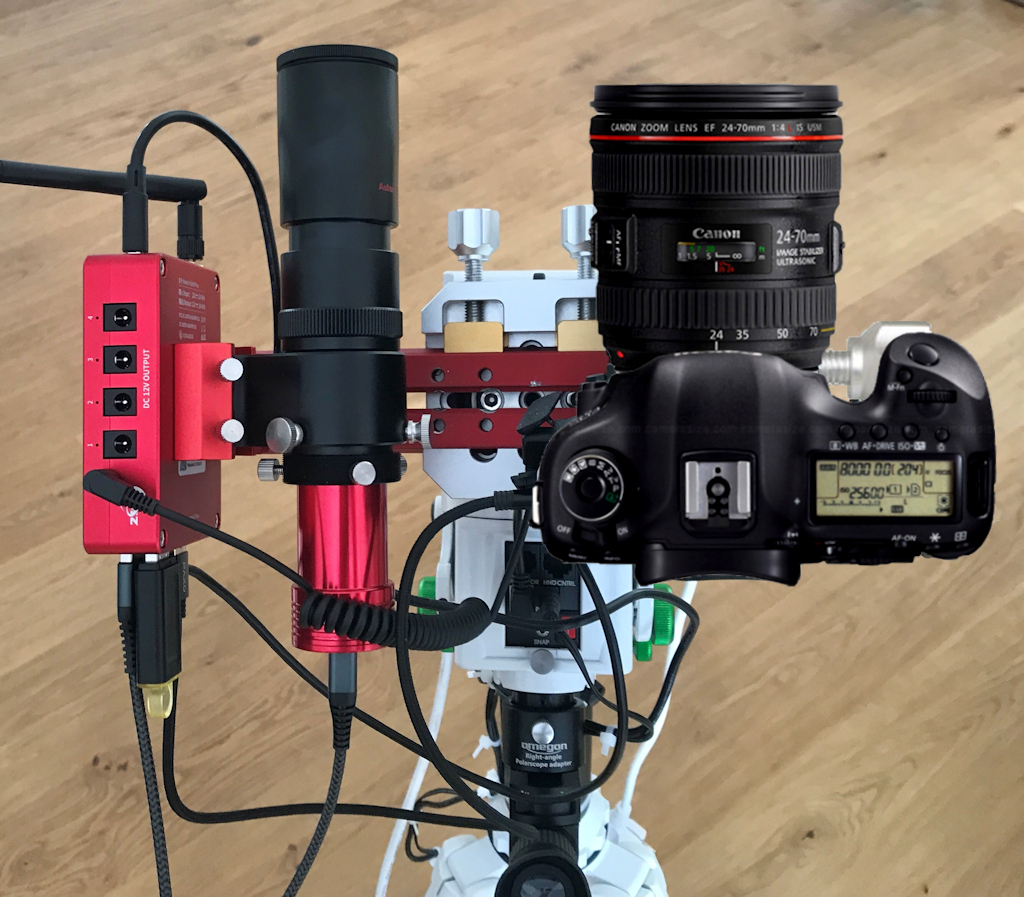
Alle Kabel im Kopf-Bereich des Setups sind kurz und so verlegt, dass Kabelsalat bei den Rotationen, z. B. beim Pier Flip, ausgeschlossen ist. Guiding erfolgt nicht über ST4, sondern USB. Noch ein Kabel weniger.

Da die Asiair eine interne Speicherkarte mit genügender Speicherkapazität hat, braucht man keinen externen USB-Stick zum Abspeichern der Aufnahmen. Deshalb wird auch der geplante USB-Hub nicht benötigt.

All cables in the head area of the setup are short and routed so that cable clutter during rotations, e.g. during pier flip, is excluded. Guiding is not via ST4 but USB. One less cable.

Since the Asiair has an internal memory card with sufficient capacity, no external USB stick is needed to save the images. Therefore, the planned USB hub is also not needed.

Setup-Varianten

Setup variants

Standard-Setup mit EOS600Da, ACL200, EAF-Autofokus, Mini-USB-Hub, Asiair Plus und Guiding Set – sowie Guiding mit kleinerem oder größerem Geschirr. Einfach 2 Kabel umstecken, Equipment austauschen, Gewicht verlagern und fertig.

Standard setup with EOS600Da, ACL200, EAF autofocus, mini USB hub, Asiair Plus and guiding set – as well as guiding with smaller or larger rigs. Simply swap 2 cables, change equipment, shift weight and done.